To assign a task to a vendor, follow these steps:
Step 1:
From the home screen, choose the type of task you are assigning. 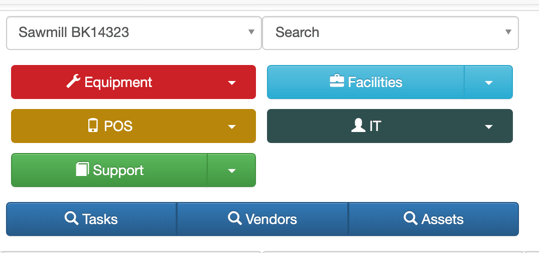
Step 2:
Fill out the task information form like you would for any other task entry. In the Vendor drop-down, select the vendor you would like to assign the task to. 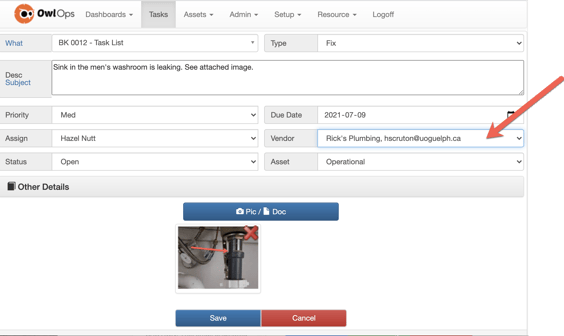
Step 3:
The vendor will be notified of the task request and has a few options to reply. All notifications will be communicated with you like any other task update. 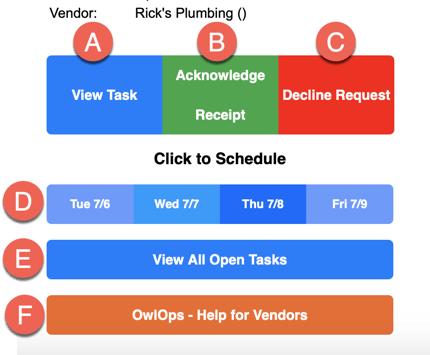
A. View Task - automatically opens the OwlOps app where they can see all the details relating to the task they've been assigned.
B. Acknowledge Receipt - updates the task in the OwlOps app and lets you know they've received the request.
C. Decline Receipt - updates the task in OwlOps and lets you know that they are unable to complete the request.
D. Click to Schedule - updates the task in the OwlOps app and lets you know the vendor has scheduled a time to come.
E. View All Open Tasks - automatically logs you in to OwlOps to view all open tasks.
F. Help for Vendors - brings the vendor back to the Knowledge Base.
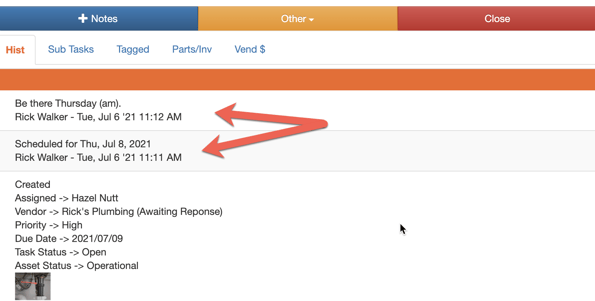
Step 4:
You will receive a notification to your email (or SMS) when the vendor replies with an update.