Documents acts as a place to store and access company documents that can be shared with your team. You have the ability to upload, edit, and remove documents that you would like the company or specific departments to be able to access.
Documents is a useful place for storing important information that is lasting in duration. These might include: HR Policies, Maintenance Documents, Training Procedures, etc.
Steps
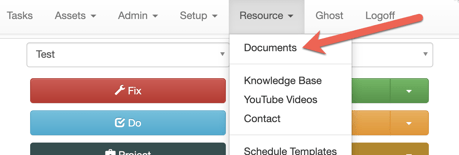
- Go to Resource / Documents
- Use the drop down arrow to Select a Category type for your new Document. You can also search keywords to retrieve a Document that has already been added.

Then, select Add a Document. Choose either Using Upload (upload a saved document from your device) or Using URL (attach a website link, GoogleDoc page, etc.)

- Complete the Document information form and select Save.
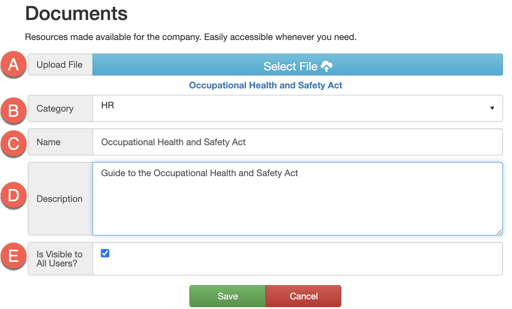
A. Upload the document from your files or paste the URL link.
B. Select the relevant category for the document (HR, IT, Maintenance, Training, etc.)
C. Add the name your document will appear as.
D. Add a description and any other information you want to be included with the document.
E. Select whether you want the document to be visible to users or to specific departments/teams. The next step outlines how to select specific departments.
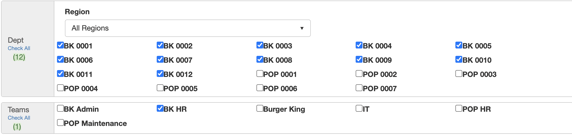
- If you would like the document to only appear to specific departments or teams, de-select the option to have the document visible to all users and the option to select individual departments or teams will appear.
- Save the Document information. The respective departments will now be able to access and view the new document.


